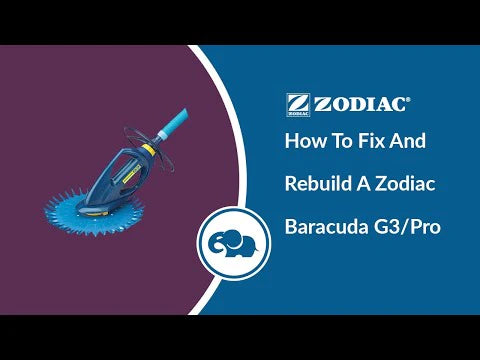
Hello and welcome back ePoolSupply supporters and followers! For today’s blog, I will be going over how to fix and rebuild the Zodiac Baracuda G3 / G3 Pro pool cleaner (W03000TR). Fixing this cleaner is pretty simple and should have an easy time doing so. I have added a picture of the cleaner below so you know exactly which one I am working on. At the very bottom of this blog, I have added a YouTube video our pool professional has made to show you exactly how to do this. He also will give you some tips and tricks about this cleaner to help you in the future. Keep on reading to learn more!

How To Remove
The first thing you will want to tackle is the disk and the footpad. To remove the finned disc (W70329), all you have to do is peel it right off, it should come off easily. Now to remove the footpad (W70327), there is a flange on the back and you will pull that towards you and lift up, the whole thing will come right off. Now there is nothing on the bottom of the cleaner. To remove the diaphragm (W70340), you will need to untwist the yellow nut and then the whole thing should come right out. Now to get to the outer extension part separated from the inner extension pipe. You will want to twist the two pieces apart. To get access to the yellow diaphragm (W69698), all you have to do is slowly push the tube out and now you should have full access to the diaphragm. To remove the yellow diaphragm, it just pops right off. Now you are left with just the cassette chamber (W70345). Inside the cassette chamber, there will be a compression ring and this stays there.
How To Replace
To replace the footpad, you will want to line the part up properly to the bottom of the cleaner. Then stretch it on, it is easiest if you start from the stop and work your way down. Take your time doing this, it can get a little frustrating. Now to put the disc on, make sure all the spikes are pointing up. Then you will stretch the ring around the footpad, it should be able to spin freely. It is important to make sure you are a little careful to not pop the footpad off. Now to replace the whole diaphragm there are a couple of steps you will have to do. The first step is to put the yellow diaphragm back on the tube and this will just slip right on. Now you will take the tube with the diaphragm and put it inside the cassette chamber. Next, you will twist the chamber and twist it back onto the outer extension. Lastly, you will take the whole cassette assembly, put it inside the cleaner, and twist the yellow nut back on.
In this video, we are going to show you how to fix and rebuild all the working parts of a Zodiac G3 and G3 Pro pool cleaner. The G3 Pro is a "Trade Grade" series cleaner and can only be purchased at a brick-and-mortar store! Remember, the Zodiac G3 Pro also comes with a 2-year warranty and an extra long-life diaphragm in the box! If you are still unsure how to do any of this or have any questions please contact us and we can help you to the best of our ability.

